Crinkled Oranges

Showing posts with label Crafts. Show all posts

Tuesday, November 8, 2011

I'm really enjoying

the Pinterest site (thanks Sharilyn!).  They say "a picture's worth a thousand words," and it truly is for me.  I have bookmarked so many recipe and craft sites, but just looking at the title of the bookmark doesn't really tell me what is there.  With Pinterest you actually see the pictures of what you've saved.  Because the things I've "pinned" are so easily identified with the picture, I've used these three different ideas during the last week.

This one:
 { Crispy peanut butter cup recipe }

this one:

Christmas Presents: Fudge in cookie cutters.

and this one:

:Pinned Image

You create your own "Boards" or categories, and pin those things that interest you to them.  You can follow your friends or just people who have the same interests as you do.  I can tell Tiffany is my daughter, because I usually want to repin to my boards most of the things she pins to hers. 

If this is making no sense, just let me know, and I'll send you an invite.

Wednesday, September 28, 2011

Glass Tile Pendant Tutorial

Last night we made about 90 of these necklaces.  It is really so simple and easy.  Here is my effort at providing a tutorial!

Materials needed:

Glass tile (7/8" x 7/8")  I ordered the tiles, bails, and necklaces from BottleCapSupply and Laguna Craft Supply.
  • Paper (scrapbook paper, scraps, photo)
  • Dimensional glaze (I used Glossy Accents)
  • Bail (what you attach to back to hand chain from)
  • 7/8 inch punch is really nice to have – but if not, you can just cut the squares
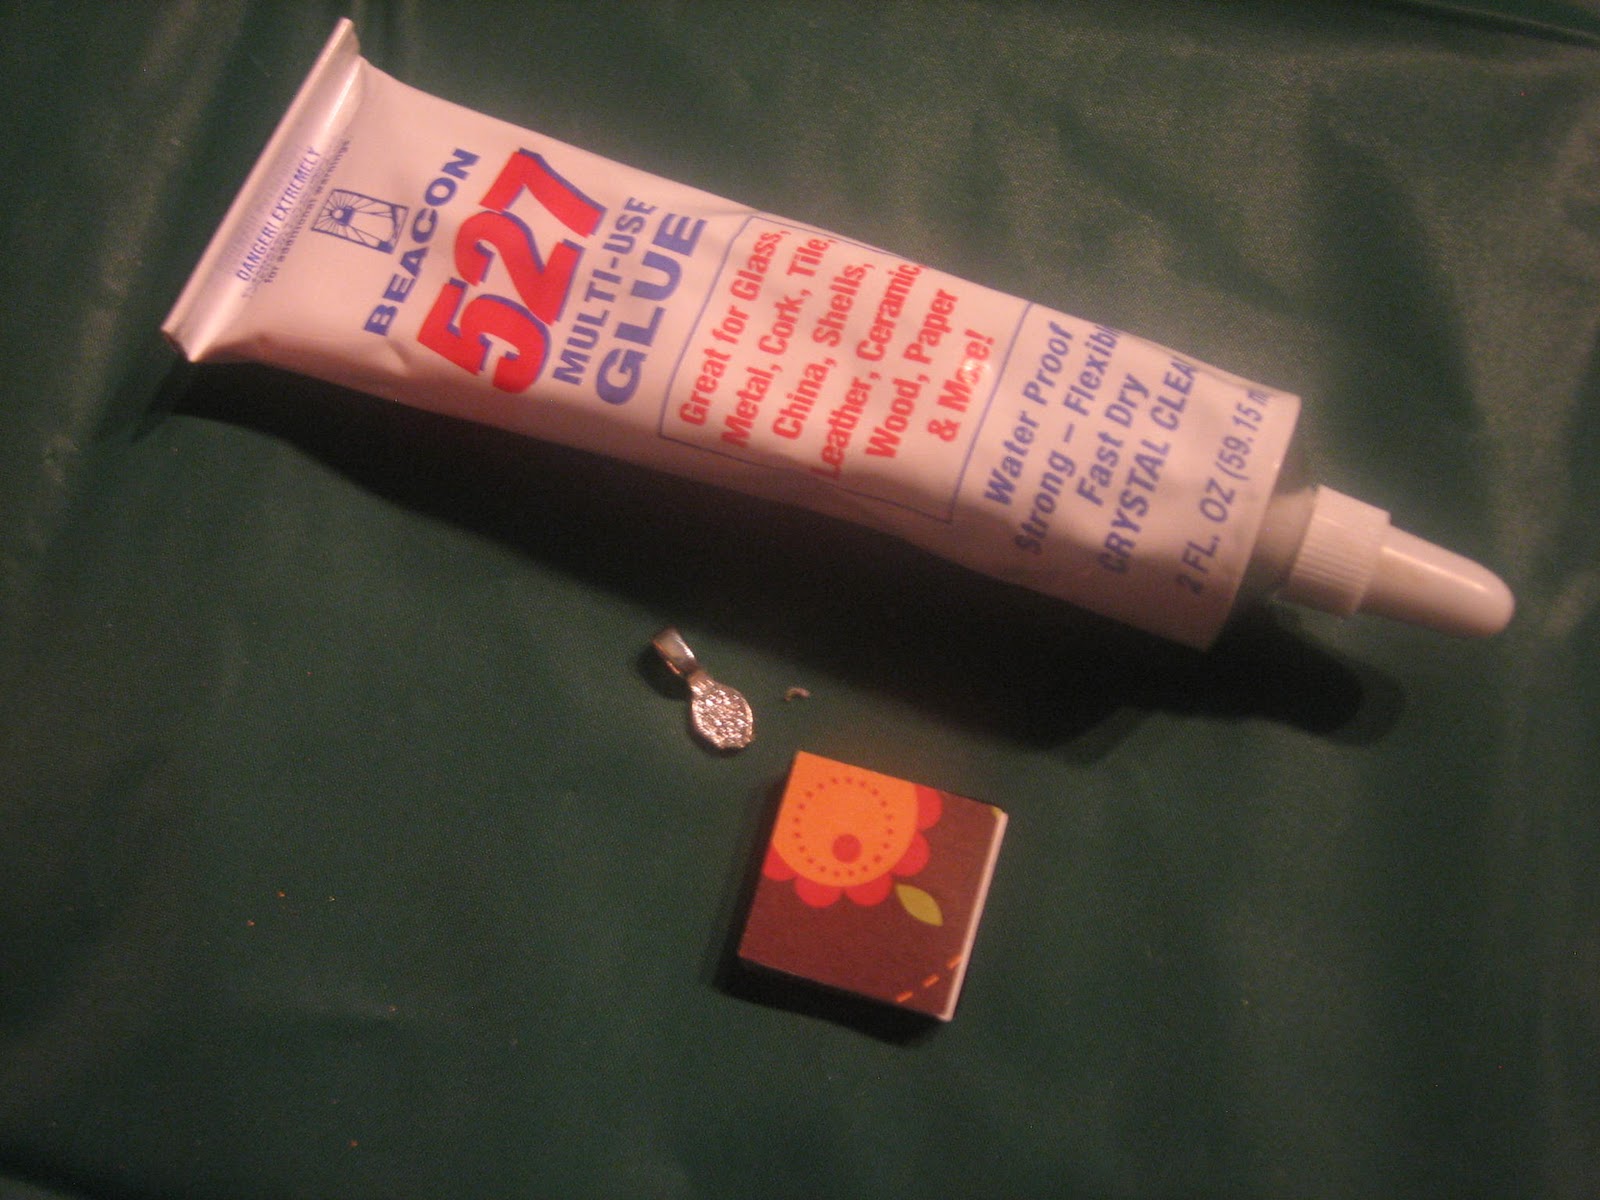
  • Glue (to attach bail – I like 527 glue)
  • Modge podge (if you have some already) 


Step 1 - Choose your paper. You can see through punch to decide what design you want. Or you could do any picture or saying.


Step 2 - Apply a dot of glossy accents on back of the glass tile (the flattest side). Place your piece of paper face down over the glossy accents and rub paper gently around so all of the paper is coated and will adhere to the back. It is best not to use a brush, as you can see the brush strokes. Push down to tightly to remove any air bubbles.


Step 3 - Repeat this process to cover the back of the tile, so both sides have a design or writing. For the Relief Society ones, we had the saying “Of Good Report."    This may not be necessary, but I then added a layer modge podge over the paper on the back.   It makes a firmer surface to apply the bail on with the glue.   Apply the bail to the pendant with glue (I like 527)


And there we have it!


Tuesday, September 13, 2011

When Tiffany was here,

 we made a lot of these glass tile necklaces
.

Unfortunately I didn't take any pictures of the cute ones Tiffany made. 

But here are some of the 7/8 inch square paper pieces 
I plan to make more necklaces with. 


And of course my favorite,
the cupcake ones.


Saturday, April 16, 2011

I have to confess

that I was a little embarrassed when Tom and Lynn came in last night and found me sitting in the middle of this.


 I admit, I have a few too many things going at once. 
Or let's just say, I should clean up from one project before starting another.

(Cutting and glueing materials for key fobs)
Cut out keys, hardware, and note cards
 Experimenting with making a card to hold key fobs.
 Remnants of cutting keys with the cricut machine
 Letting homemade marshmallow fondant dry so I can try out
my Cricut Cake for the first time.
 Finished key fobs that we made with the girls.
I got the instructions from my friend, Wendy, and Tiffany had
the great idea of making and adding the little rag flowers.


Ok, that explains the messes. 

Now I just need to finish them one at a time. 
(But first we're going to breakfast at Magleby's
with Tom and Lynn and Gary and Lynn)

Thursday, December 2, 2010

My Nutty Friend

Party.

Since I was the lucky recipient of the "nut gift" last year, I had the opportunity to make the new addition.  (See history here: The Nut Gift Tradition )

I thought it was only appropriate that it involved the burnt edge flowers, since we made them when we went to St. George.  Here is Gary modeling the finished product.


If you can't tell, it is attached to a headband
and the center is acorns.

Gary was so taken with it that
I'm not sure he will be able to let me give it away.
I may have to make another one.

Tuesday, November 23, 2010

"Come on Everybody

and do the Funky Chicken."

That was a cheer we did in high school. 
 It came to mind when I saw these turkeys demonstrated on Studio 5
Link here:  (Glove Turkeys). 
(If you watch it, it shows them at the end of the clip.) 

I'm naming them

"Funky Turkeys."


I'm getting an early start on my table settings. 

Ok, let's be honest.
What I'm actually doing is procrastinating cleaning the bathrooms.