Materials needed:
Glass tile (7/8" x 7/8") I ordered the tiles, bails, and necklaces from BottleCapSupply and Laguna Craft Supply.
- Paper (scrapbook paper, scraps, photo)
- Dimensional glaze (I used Glossy Accents)
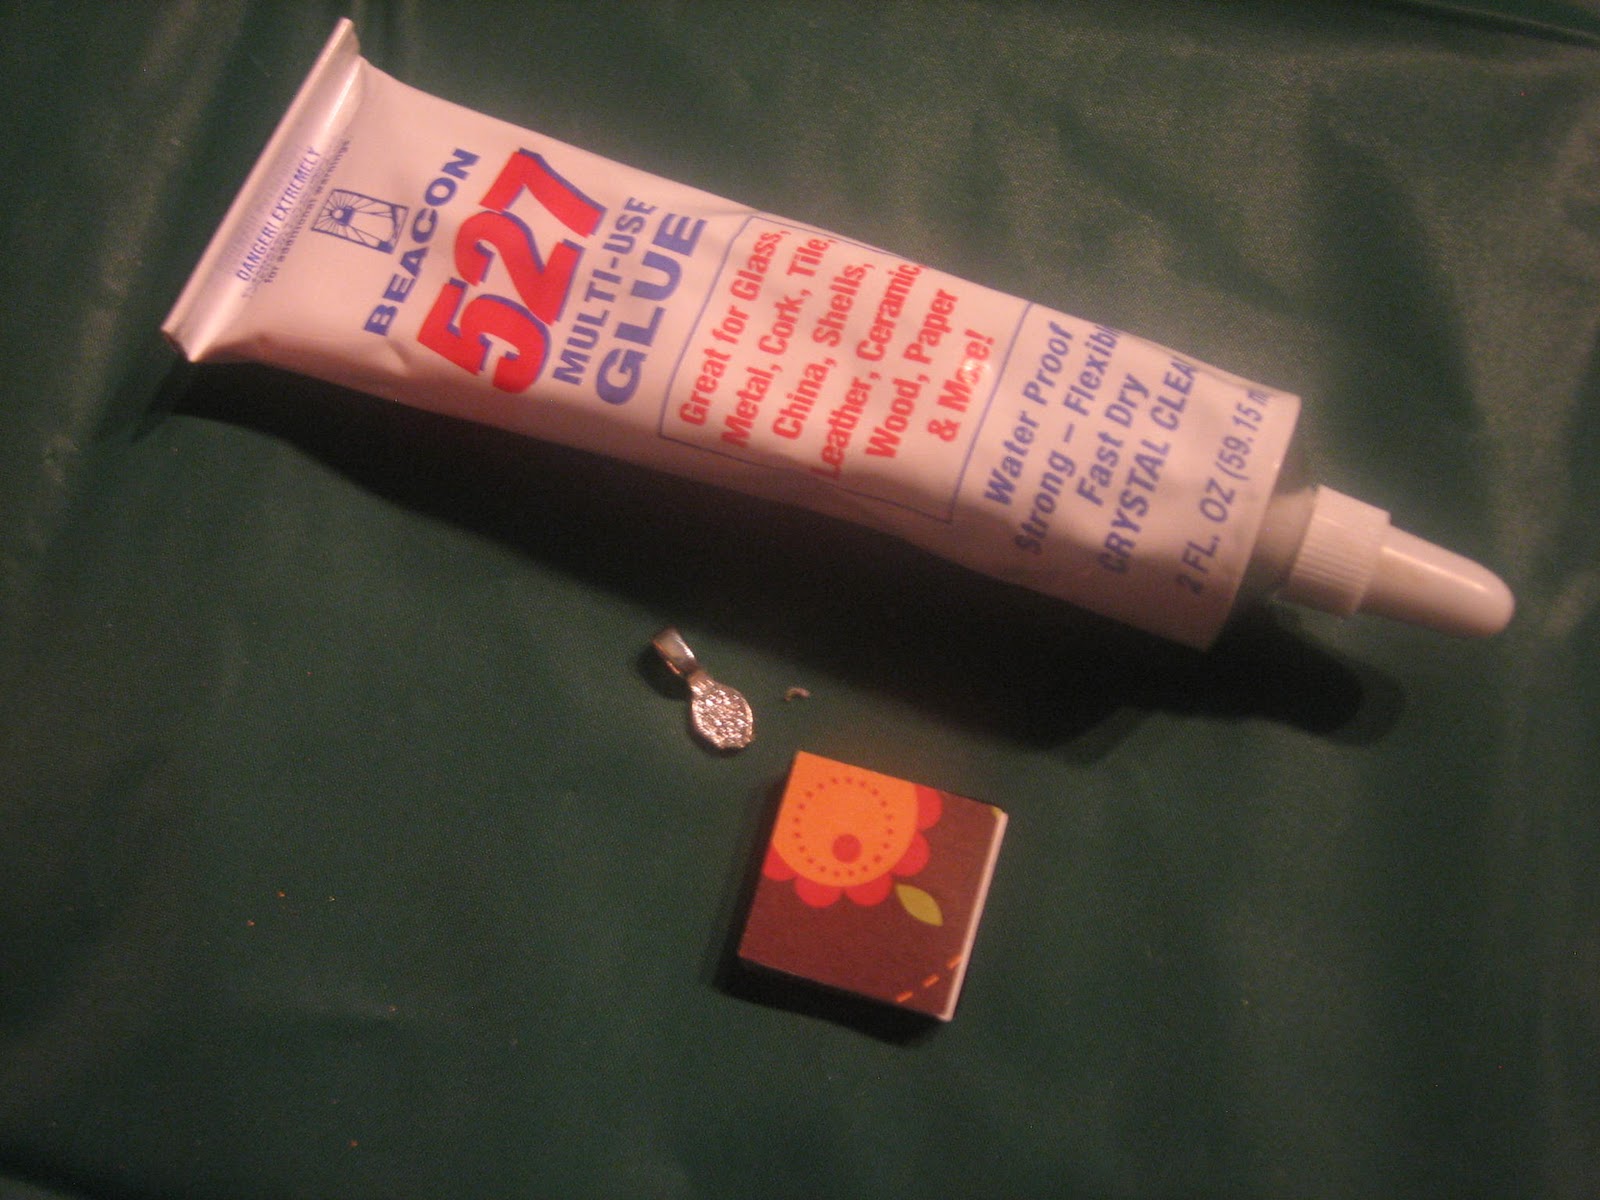
- Bail (what you attach to back to hand chain from)
- 7/8 inch punch is really nice to have – but if not, you can just cut the squares
- Glue (to attach bail – I like 527 glue)
- Modge podge (if you have some already)

Step 1 - Choose your paper. You can see through punch to decide what design you want. Or you could do any picture or saying.


Step 2 - Apply a dot of glossy accents on back of the glass tile (the flattest side). Place your piece of paper face down over the glossy accents and rub paper gently around so all of the paper is coated and will adhere to the back. It is best not to use a brush, as you can see the brush strokes. Push down to tightly to remove any air bubbles.


Step 3 - Repeat this process to cover the back of the tile, so both sides have a design or writing. For the Relief Society ones, we had the saying “Of Good Report." This may not be necessary, but I then added a layer modge podge over the paper on the back. It makes a firmer surface to apply the bail on with the glue. Apply the bail to the pendant with glue (I like 527)

And there we have it!


2 comments:
thanks you!
Now I have No Desire to teach school today. But I will try to be good and come shop for these supplies AFTER school.
They look wonderful and I would not have thought so quick to do. :)
You really make the rest of us Relief Society Activity people look bad. Those are really cute. Thanks for the tutorial.
Post a Comment